
Conservatory Roof Vent Installation Guide
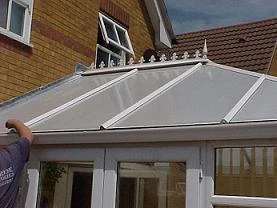
Our conservatory roof vent windows provide essential ventilation on hot days, keeping your conservatory cool and comfortable. The removable sash design allows easy access through the roof for maintenance and cleaning tasks.
Key Features:
- Suitable for new and existing polycarbonate roofs
- White PVC window profile construction
- Complete kit with gaskets and pre-cut glazing beads
- Removable sash for roof access
What's Included
Your roof vent kit contains:
- PVC window frame with gaskets
- Pre-cut glazing beads (mitred)
- Installation template
- Anti-dust tape
- Silicone sealant
Tools Required
- Jigsaw
- Vacuum cleaner
- Measuring tools
- Safety equipment
Installation Steps
Step 1: Prepare and Mark the Roof Sheet
Remove the polycarbonate sheet from the roof where you want to install the vent. Choose the installation location, typically near the top of the sheet.
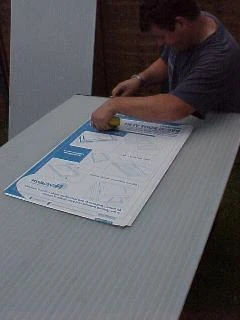
Use the provided template to mark the hole location on the roof sheet. The template shows exactly where to cut for the vent opening.
Step 2: Cut the Opening
Cut a small starter hole near one corner, large enough for a jigsaw blade. Use the jigsaw to carefully cut along the marked lines, then vacuum away any dust and debris from the sheet.
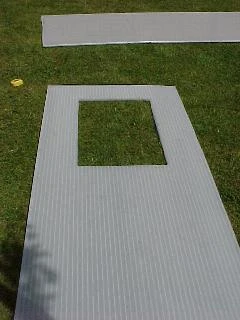
Important: Save the cut-out piece - you'll need it for glazing the vent. Only cut around the edges as marked on the template.
Step 3: Prepare the Glazing Panel
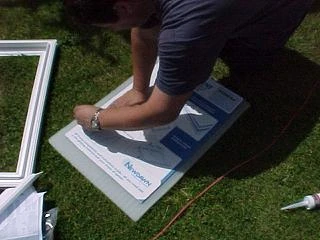
The template card includes an inner square marking. Use this to cut the saved polycarbonate piece to the correct size for glazing the opening in the vent window.
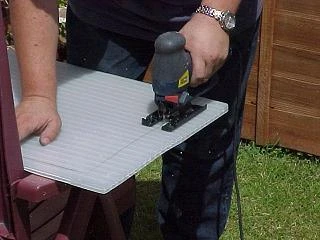
Polycarbonate can be trimmed using a jigsaw. Always remove dust from the sheets with a vacuum cleaner after cutting.
Step 4: Glaze the Vent Window
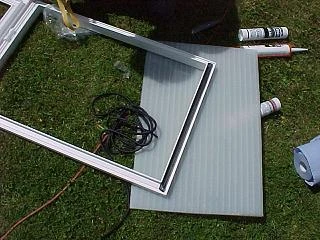
Push the glazing gasket firmly into position as shown on the packaging. The kit comes complete with pre-cut beads, glazing gaskets, and silicone sealant.
Step 5: Seal the Polycarbonate Ends
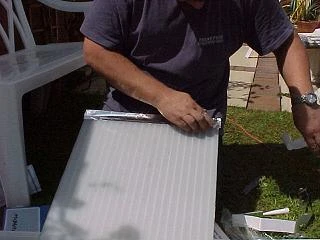
Use the anti-dust tape provided to seal both the top and bottom ends of the polycarbonate sheets. This prevents dust from entering the hollow channels.
Step 6: Apply Beading and Allow to Set
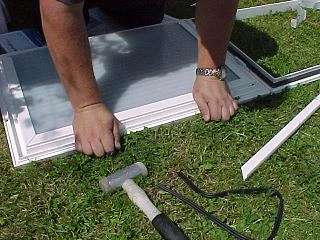
Apply the silicone sealant around the inner window to seal the polycarbonate sheet into place. Then fit the pre-cut glazing beads into position to hold the sheet securely. Leave the vent open for at least one hour at this stage, allowing the silicone to set completely.
Step 7: Prepare for Installation
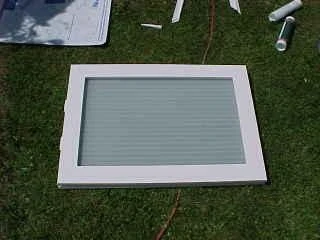
Your glazed vent is now ready to be fitted into the original roof sheet. Installing the vent follows the same process as glazing the window itself. After glazing, allow the sheet to sit until the silicone sets completely.
Step 8: Final Sealing and Installation
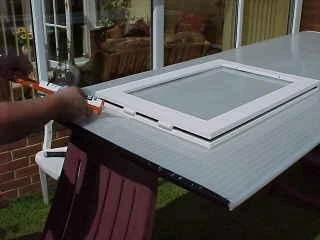
Apply final sealing around the vent installation to ensure weatherproofing. You can now carefully lift your roof sheet with the new vent into position and secure it back in the roof structure.
Opening Mechanism for High Installations
If your conservatory vent is too high to reach when operating, we stock a brass spindle with an eye-opener mechanism. Handles are available for use with the brass spindle in different lengths:
- 1.0m length
- 1.5m length
- 2.0m length
Select the length according to your specific requirements.
Completed Installation
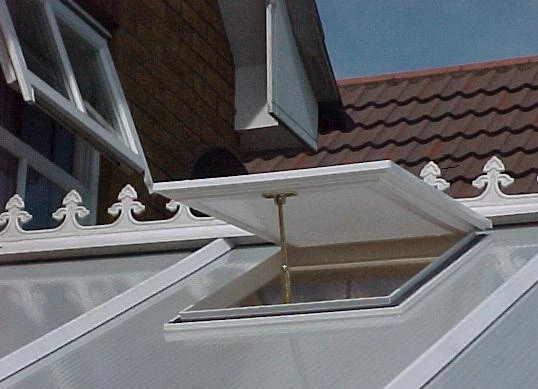
Your conservatory roof vent installation is now complete, providing excellent ventilation and easy access to the roof when needed.
Important Safety Notes
- Always wear appropriate safety equipment when cutting polycarbonate.
- Take care when working at height
- Ensure all silicone sealant is fully cured before use
- Please read all instructions provided in the kit before beginning installation
Video