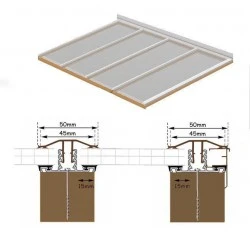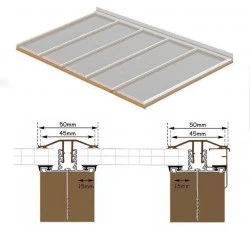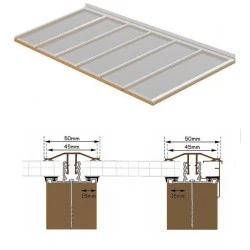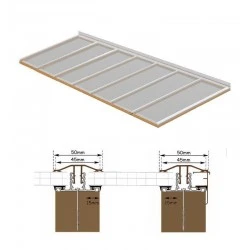
- Stock: In Stock
- Model: OT2.5LX3
- SKU: OT2.5LX3
- MPN: OT2.5LX3

More from this brand


The lean-to roofing kit, measuring 2.5 metres long by 3 metres wide, provides versatile coverage for homeowners and businesses throughout Bristol and Bath. It delivers a practical 7.5 square metre roofing solution with customizable sheet thickness options of 10mm, 16mm, or 25mm, designed to meet specific performance and budget requirements for diverse applications. This well-proportioned system is ideally suited for medium-scale residential projects, compact commercial spaces, or functional outbuildings where quality weather protection and structural reliability are essential for enhancing property value and usability. The choice of sheet thicknesses allows for precise specification based on individual needs: 10mm sheets for cost-effective weather protection in standard applications, 16mm for improved thermal performance and enhanced structural strength in demanding conditions, or 25mm for maximum insulation and heavy-duty performance in commercial or exposed locations common throughout Bristol and Bath's varied environments. The balanced dimensions create substantial covered space while remaining proportionate to typical residential gardens and commercial courtyards, making it ideal for covering patios, creating carports, building workshop areas, or providing shelter for outdoor dining spaces that enhance both residential living and business operations. The lean-to design ensures efficient water drainage while maintaining optimal headroom, making it particularly suitable for applications where reliable weather protection is crucial for year-round functionality and user comfort. This roofing system is engineered to withstand the challenging weather conditions of Bristol and Bath, from strong winds affecting exposed locations to heavy rainfall requiring effective drainage management, ensuring dependable long-term performance that meets the high-quality standards expected by discerning property owners and commercial operators throughout the region.
Select the type of polycarbonate and colour required.
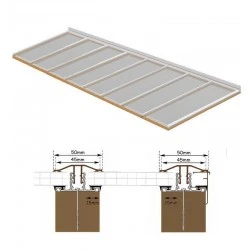
Price includes(Actual coverage 3.260 mm)
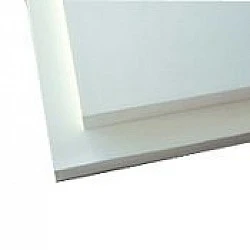
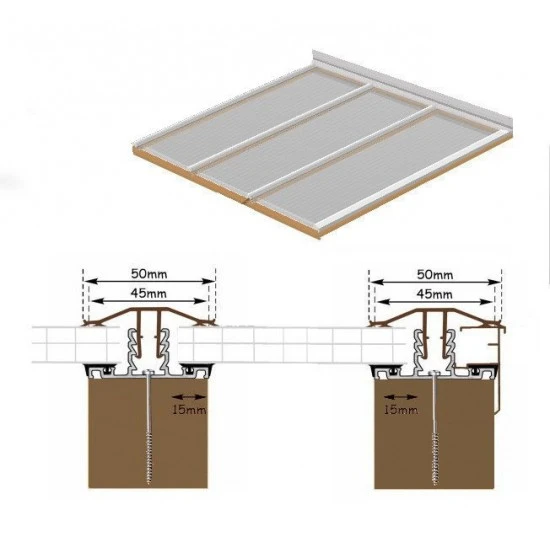
3no 1050mm x 2.5m polycarbonate roof sheets
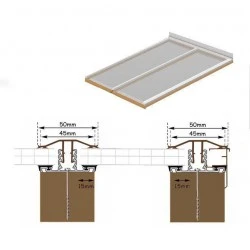
4no x 2.5m bars to fix to timber
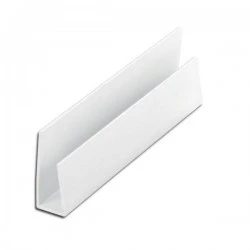
2no x 3m edge fillets
3no x 1050mm sheet closures
1no x 150mm flash band
Anti-dust tapes
Installation Guide
Step one
Fix your first edge bar as shown in Dia. 1. Slide the edge fillet up the groove on the bar as shown, then cut the bar to length, remembering to allow for a 50 mm overhang into the guttering. Cut the aluminium base 2 mm longer than the predetermined length of the polycarbonate sheeting, allowing for the end cap to fit later.
Drill and fix the bar into position,n screw with no less than six screws at 3- 400 mm centres, ensuring the drip on the edge trim is in the required place and neat from the external view. Repeat on opposite NBd Dia 1.
N.B. Where bars are butting against a wall, the edge trim is not required; fit the bar only.
Step two
You can choose to cut all sheets and then evenly space them out, or you can work towards cutting a sheet in half. Once you have decided, start fixing centre bars in your required position. Drill and fix the bars with screws at 3-400 mm centres

IMPORTANT REMEMBER TO LEAVE A CLEAR EXPANSION GAP OF 4MM BETWEEN THE BAR AND THE POLYCARBONATE SHEETS.
Step three
Ensure all the rubber gaskets in the bars are flat with no bumps.
Step four
Cut your polycarbonate sheets to the length if not already done, ensuring that all swarf is removed. Use a vacuum or a condensation-free airline to remove swarf (never try to wash it out). Now fit anti-dust tapes to the sheet. Use the solid foil tape on the top of the sheet and the vented tape on the bottom of the sheet. Peel off the backing tape and stick in place as shown. These tapes reduce condensation and keep out insects and dust, so ensure they fit correctly. No, we peel about 50 mm of the protective film down both sides and place the sheet in position.
Step Five
Position the PVCU caps so that the toothed legs locate inside the centre of the aluminium base. Press down firmly, then lightly hammer down with a rubber mallet or equivalent until the caps lock into place. As you work across the roof, complete flashing as you go (see tips).
When the flashing is complete and all caps are in place, remove the protective covering.g
Step Six
Fit the end caps into place. Now, cut the sheet closures to the length between the bars and push them in place as shown.

Tips
For polycarbonatecut-to-size orders, pleasee order your polycarbonate sheets after you have fitted your bar.sWe can thenn cut, blow,w and tape your sheets to the correct size NB: both widthh andlength)t)Do not forget to allow for expansion when ordering. (P.O.A)
If using lead flashing, ensure the lead (recommended) is fitted before the sheets and dress down as you install the roof panels. Fit your lead in sections of 2m and seal the overlap with a lead mastic, 100 mm thick.
For cleaning, use mild soapy water. Try a small panel first to ensure there is no reaction. Never use solvent-based cleaners.
You should not need to use silicone; however, if you do, use only high-quality, low-modulus, neutral-clear silicone.
For a good-quality roof that will last the test of time, avoid wide sheets. Try to use the recommended widths: 980 mm or less for roofs up to 4m long and 700mm wide for roofs 4m or longer.
Fix wall plates, top and bottom, and fix joists as you fix polycarbonate bars
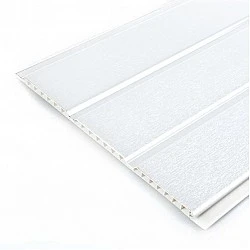
Use 9mm economy fascias all round and square white gutters for a maintenance-free finish.
Not Sure? Please email us; we are here to help.