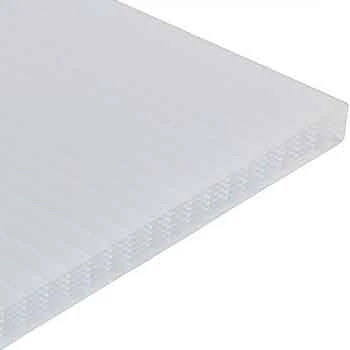
Polycarbonate Roofing Installation Instructions
Complete step-by-step guide for installing polycarbonate roofing systems with timber-supported roof bars. This DIY installation guide covers everything, from understanding the advantages of polycarbonate to final installation techniques.
Main Polycarbonate Advantages
Superior Impact Resistance
200 times stronger than glass - providing exceptional safety and durability for your roofing project.
Easy Installation
Simple to cut and install, making it perfect for DIY projects and professional installations.
Long Life Expectancy
Designed to cope with both high and low temperatures, ensuring years of reliable performance.
Heat Protection
Solar sheets can reflect up to 85% of the sun's heat, preventing unwanted heat buildup.
Roof Sheet Colour Options
Polycarbonate sheets come in many colours, each with specific benefits:
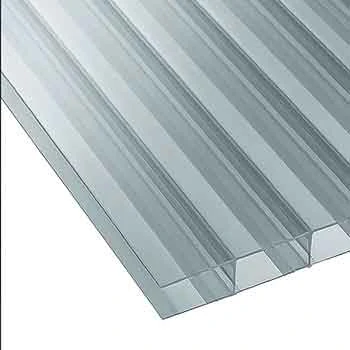
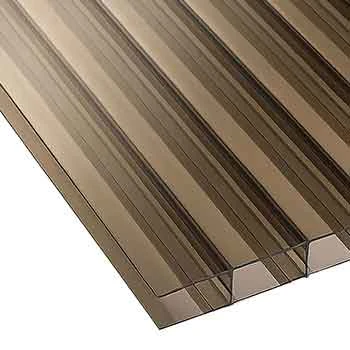
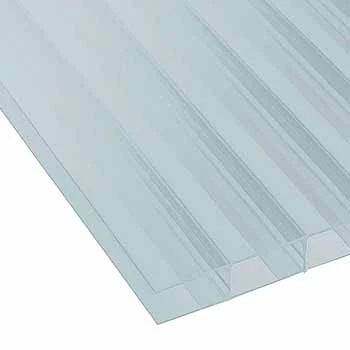
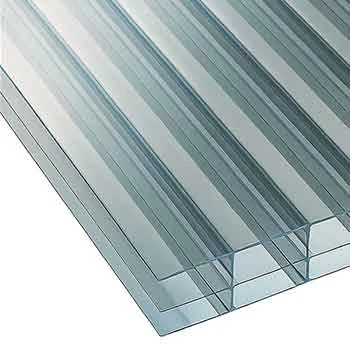
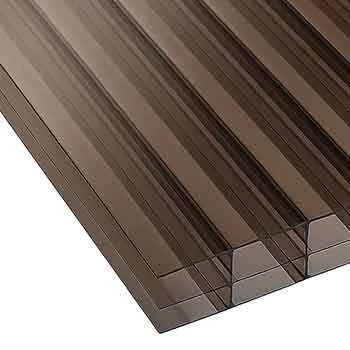
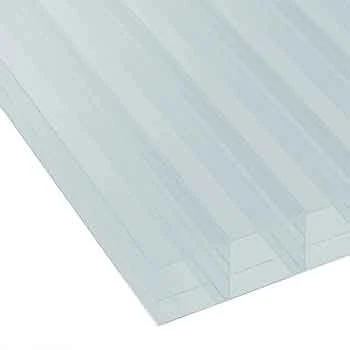
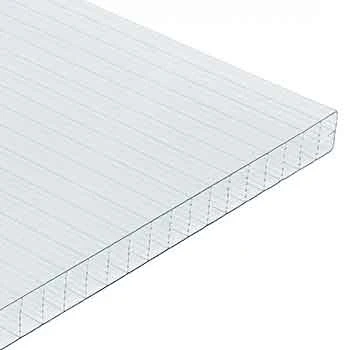
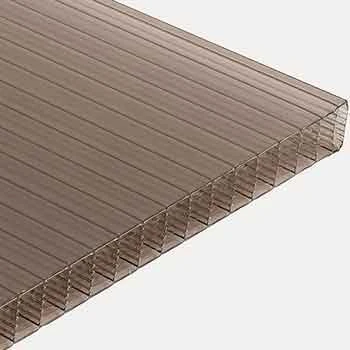
Colour Selection Guide: Clear allows maximum light but no heat protection. Opal reduces heat build-up and hides dirt, requiring less cleaning. Bronze works well with timber structures like pergolas. Mixed sheets allow different colours on the inside and outside surfaces.
Roof Bar Options
Step-by-Step Installation Instructions
Fix your first edge bar as shown in the diagram. Remove the rubber gasket from the bar and slide the edge fillet up the groove on the bar. Then, cut the bar to the required length.
Key Measurements:
- Allow for 50mm overhang into the guttering
- Cut aluminium base 2mm longer than the intended polycarbonate sheet length
- This allows the end cap to be fitted later
Drill and fix the bar into position with screws at 300-400mm centers. Ensure the drip on the edge trim is positioned correctly and neat from the external view. Repeat on the opposite end.
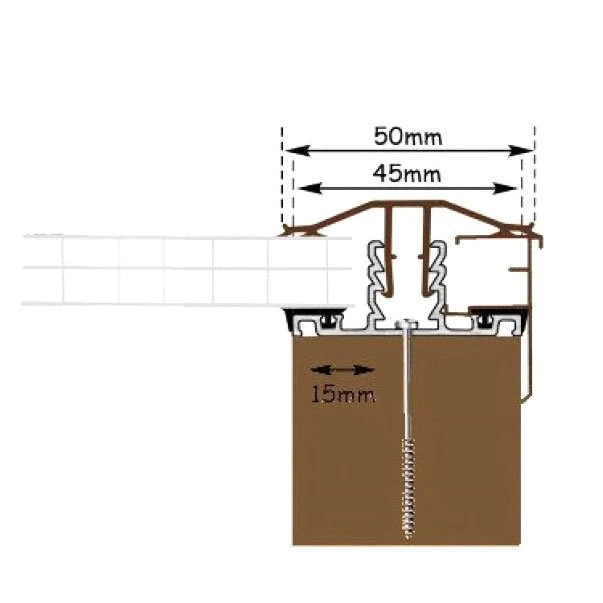
Wall Installation Tip: Where bars are butting against the wall, the edge trim is not required - fit the bar only.
You have several options for sheet layout:
- Cut all sheets to space them out evenly
- Work towards a cut sheet in the middle
- Use full-width sheets and cut the two outer sheets to size
Important: Only cut the width on the last sheets when all other sheets are fitted.
Once you have decided on your layout, start fixing the centre bars in your required positions. Drill and fix the bars with screws at 300-400mm centers.
Pre-Installation Note: Measure each sheet before the roof joist is fixed, as roof sheets may vary in size by ±5mm.
IMPORTANT: REMEMBER TO LEAVE A CLEAR EXPANSION GAP OF 4MM BETWEEN THE BAR AND THE POLYCARBONATE SHEET ON BOTH SIDES
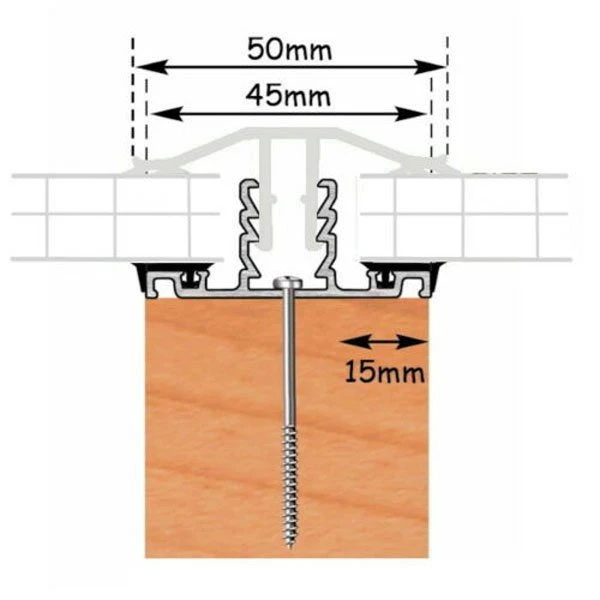
Ensure all the rubber gaskets in the bars are flat with no bumps. This is crucial for proper sealing and placement of the sheet.
Cut your polycarbonate sheets to length if they have not already been done, ensuring that all swarf (cutting debris) is removed.
Cleaning Method: Use a vacuum or condensation-free air to remove swarf. Never try to wash it out, as this can cause problems.
Anti-Dust Tape Application:
- Use solid foil tape on the top of the sheet
- Use vented tape on the bottom of the sheet
- Peel the backing tape and stick in place as shown
Why Anti-Dust Tapes? These tapes reduce condensation and keep out insects and dust, so ensure they are fitted correctly.
Now peel about 50mm of the protective film down both sides and place the sheet on top of the two aluminium roof bars.
Position PVCU caps so that the toothed legs are located inside the centre of the aluminium base. Press down firmly, then lightly hammer down with a rubber mallet or equivalent until the caps lock into place.
As you work across the roof, complete the flashing as you go. Remove the protective covering when the flashing is complete and all caps are in place.
Fit the end caps into place. Cut sheet closures to the length between bars and push them in place as shown.
Optional Sealing: If you wish, you can run a bead of silicone along the top edge of the sheet closure for additional weatherproofing.
Important Installation Tips
What's Most Important?
- Sheet Sizing: The sheets may vary in size, so you must have your roof sheets on-site before fixing your roof joists
- Bar Calculation: Ordering bars = number of sheets + 1. For example, four sheets will need 5 bars
- Long Projections: For roof projections over 4.0m long, the sheets should be 700mm wide or less
- Expansion Gaps: Always maintain 4mm expansion gaps between bars and sheets
- Proper Spacing: Use 300-400mm screw centers for secure fixing
- Clean Installation: Remove all swarf and use proper anti-dust tapes
Need Help?
Not sure about your installation? Email us - we are here to help.
Installation Complete
Following these step-by-step instructions will ensure your polycarbonate roofing installation provides excellent weather protection and long-lasting performance. Remember to maintain proper expansion gaps, use appropriate fixings, and ensure all seals are correctly positioned.