This information is for fitting tips only; it is not the installation guide
Setting The Cill
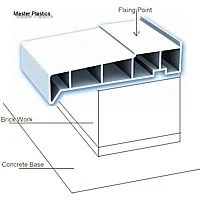
The Cill needs to be fixed to your base; there are several points to cover.
The Cill is supplied oversize and needs to be cut to size. This will help if your walls are slightly out of level and you need extra room to make the cill level.
Your shelf must be square to your wall. To check this, measure across the diagonals to the corners. The two sizes should be the same.
The top of the Cill needs to be level. Use packers to raise the Cill where required and ensure it is fixed securely. This will ensure your glass fits well when the porch frames are fitted. If your Cill is not level, you will notice the glass panels are not quite square to the PVC frames. The gap under the Cill can be filled with silicone or a mortar mix.
Setting The First Frame
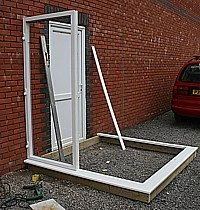
The first frame will be screwed to the wall; however, ensure that the frame is not pulled out of square. Use a level on the long, open side, and ensure the frame is plumb. Then use packers to fill the gap between the frame and the wall where you intend to add the fixings. The packers are to prevent the frame from pulling out of square when you tighten the frame anchors.
Joining Frames
To conceal the joints between the frames and enhance the strength of the frame fixings, a T-section profile is added to one frame, as illustrated in the picture. The T-section and the frame are then lifted against the first frame.
Adding Frames
To ensure both frames are fully into the h section, use two frame g clamps to squeeze the frames together and produce a tight joint. Leave the clamps on until the frames have been screwed together.
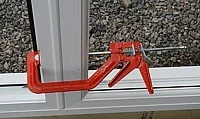
Fixing Frames
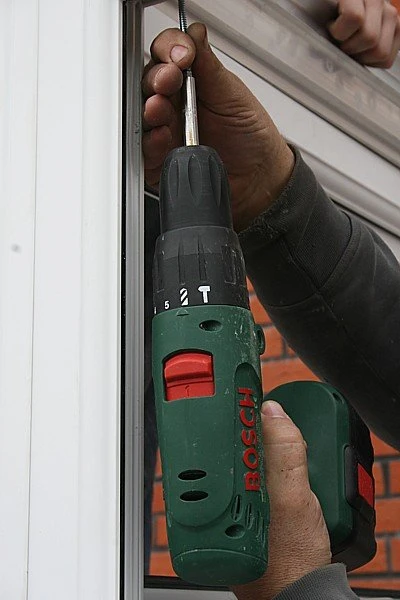
The frames are screwed together through the side where the glass will be installed later; this means the fixing screws will not be visible when the porch is finished. The screws should be fixed from both sides of the frame. Three screws per side are ok, and the screws should be staggered in height on the two sides of the frames.
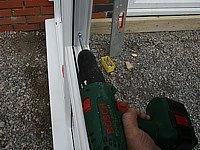
Corner Posts
Use g clamps on the corner post top and bottom to ensure the post is held tightly. Then, screw the frame into the post. Once the first side is fixed, add the next frame. Use the g clamps to hold the frame in place and screw into the corner posts.
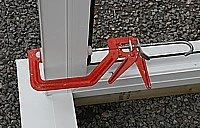
Reinforced Corner Posts
Depending on which type of porch conservatory you have ordered, the corner post may end flush with the frames, or it may only be flush with one frame, as shown in the picture. The corner posts are reinforced to add strength to the corners and prevent any warping.
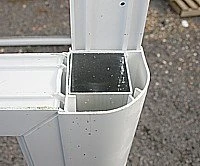
Frames
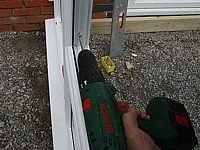
Check that the frames are correct on the inner side of the Cill, then verify that they are square and the corner posts are near plumb. If all is well, which it should be, screw the frames down into the Cill as shown. The screws are placed where the lower panels or glass will be fitted, so they will not be visible when the porch is completed.
Build The Roof Frame Structure
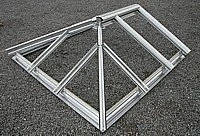
To make the roof erection easier, it's better to build the aluminium section of the frame on the floor, then lift it onto the porch after it's built. Once built, you can lift the roof onto the window frames and use it as a guide to mark out where your flashing needs to be fixed.
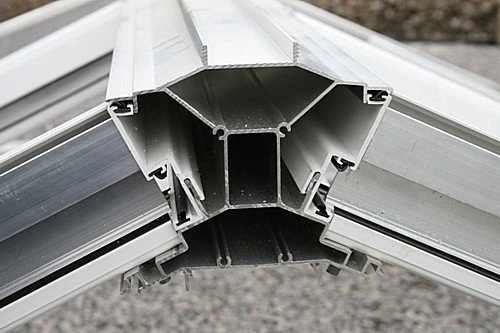
Do not forget that the lower sides of the roof bars have plastic covers that need to be put on before bolting the roof together.
Lift The Frame Structure
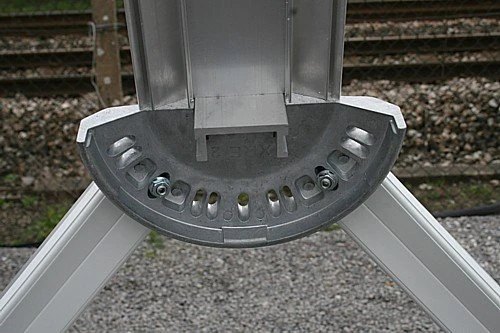
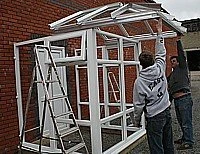
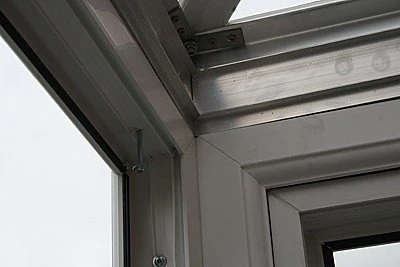
You will need some help to lift the roof into place on top of the frames. Once it's on top of the frames, you need to line up the inner side of the ring beam with the inner face of the frames. The roof is fixed by screwing up through the frames into the bottom of the ring beam.
Glazing The Roof
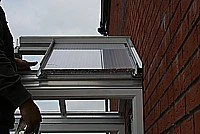
You can add the polycarbonate sheets to the roof. You need to start with any square sheets. You can glaze the square sheets; however, if you have any sheets which meet a hip corner bar, the top cap does not go on the roof until the hip corner bar cap is fixed.
Place the sheet into place and push it up into the ridge section, ensuring a gap is left on both sides of the sheet to allow for expansion.
End Bar Top Cap
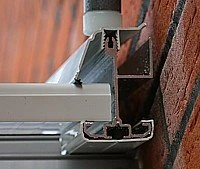
Add the sheet closure to the bottom of the sheet. Please note that the sheet closures for angled sheets will not be cut to size. Line the plastic cap up with the bar below, as shown, then tap the cap into place.
Mid Bar Top Cap
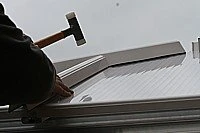
Add the next section of polycarbonate, then add the midsection top cap as shown. Top caps can only be added where they meet the flat ridge. The top caps that meet the hip bar go on after the hip bar cap. These caps are supplied oversized. Push the cap down and secure a small section of the cap. Then, tap the bottom of the trim to push it tightly against the ridge. Tap the whole cap down into place, then cut to size.
Hip Sheet Closure
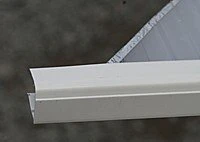
The hip closure will be supplied oversized. You need to add the sheet closure to the sheet and hold it in place on the roof. Mark the angle of the roof and cut as shown in the more information page. We do this because the roof panels and sheet closures are manufactured in different factories.
Fix the hip Cap
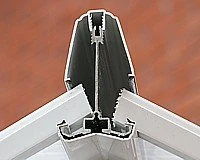
Next, fit the hip cap as shown. The hip caps are similar to the mid-caps, except they are taller in height. The hip caps are shorter than the roof hip bar; therefore, line up the bottom end of the cap with the roof bar, as shown.
Hip Mid Bar Top Caps
The top caps that meet the hip bar cap can now be fitted. Start by tapping the top of the cap into place by the hip cap. Tap the top 6 inches or so down into place, then tap the bottom of the cap to push it up tight against the hip bar.
Hip Bar Tops
The gap between the top of the hip bars and the ridge is filled with two sections of foam. The front section is inserted first, and the back section fills the gap behind.
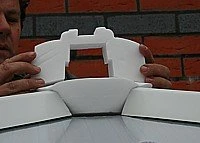
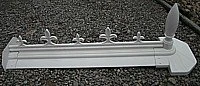
Ridge Cover, Cresting & Finial
X the front of the ridge cap with the push-in rivets, then slide in the finial, followed by the cresting, add the rear cap, and finish by pushing in the final rivets. It's better to do this on the ground than lift the whole ridge into place.
Ridge Cover, Cresting & Finial Fixing
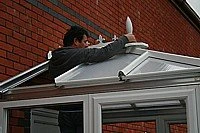
Lift the ridge into place. Note, we have left one section of polycarbonate out to make access a little easier. Line up the cap with the grooves, then use your hand to tap it into place until it's snug. Once the cap is in place, fix the final polycarbonate panel.
Bar End Caps
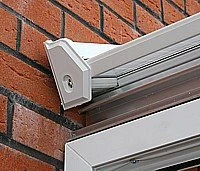
Once the last sheet of polycarbonate is in place, secure your bar end caps and cover the screws with plugs.
Gutter Brackets
With all the end caps in place, you can now add the gutter brackets. The gutter brackets will be inside the gutter. Clip the top of the bracket into place, then pull down on the support arm until the bracket is securely in place. Brackets need to be approximately 800mm apart.
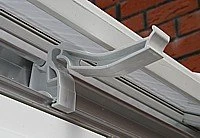
Guttering
The guttering pushes up onto the brackets. Line up the gutter, then push it up with your hands until the clips engage. Repeat this on all the sides of the porch.
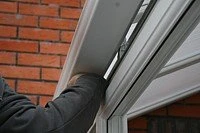
Guttering Angles & End Caps
Next, push the gutter angle and end cap up into place, and clip in one side. It will have an outlet. The outlet should not be used where it will clash with opening windows.
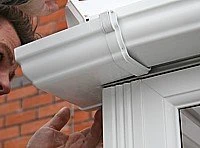
Guttering Trim
To complete the guttering, you now need to add the gutter trims. These fit into the gap below the guttering. Start with your corner trims and end trims.
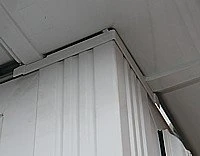
Internal Ridge Cap
Next, fit the internal ridge cap line up the plugs with the holes and tap them into place with your hand.
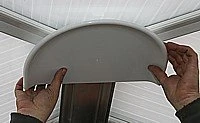
Internal Trim
The internal trims now need to go on. Do not forget to add the internal corner section before fitting the trims. Start on one side of the work around the ring beam.
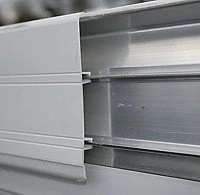
Glazing
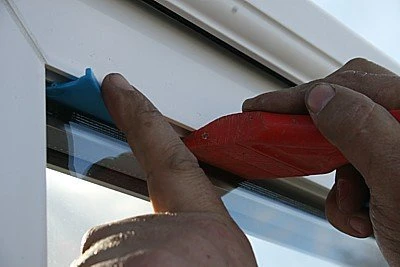
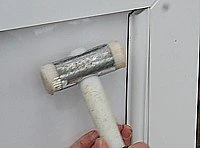
If you have PVC panels at the bottom of your porch, start with the. Place two packers, one on each side of the pane, and then add the panel on top. Next, add the shortest beads first and squeeze in the longer lengths last. Use a nylon hammer to tap the beads into place. Then, proceed with the glass units, starting with the larger panels and finishing with the smaller ones.
Insert the beads at the top and bottom, then bend the middle section last to prevent the corners from popping out. Please provide them with a few tips to adjust their window track.
Glazing Doors
To keep the door square, we support the weight of the frame across the glass from the bottom corner up across to the top corner.
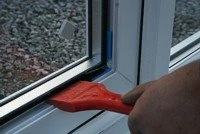
You will use frame packers to support the frame, ensuring the packers do not move. Use silicone in both corners to stick the packers in place.
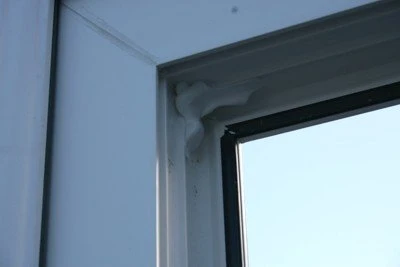
The bottom corner needs silicone on the hinge side of the frame, and the top corner on the handle side of the frame.
Place a generous amount of silicone in the top corner.
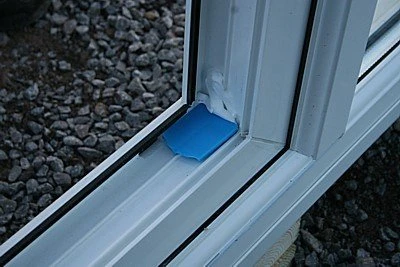
Then, add a packer to the lower corner, as shown, and another one to the top corner after the glass is in place.
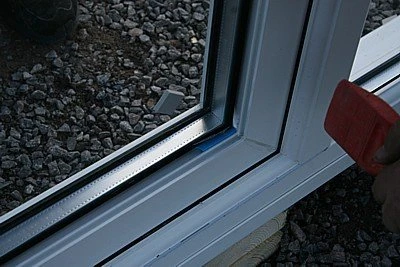
With two packers in place, the glass is still lost, so lift the glass, adding packers to fill the gap, one in the bottom and one in the top corner. The objective is to use the glass to lift the frame by 2 -3mm slightly. So keep adding packers until the top corner on the handle side rises and stays in place.
Side packers are needed to prevent the glass from moving around. Once the tip corner of the frame is lifted and the packers are tight, keeping the frame lifted, you can add the glazing beads. Do not attempt to open the door until all four glazing beads are in place. The glazing beads will significantly strengthen the frame with the glass in place. Your door should then open and close perfectly for years to come. If the Packers move the door, it may need to be done again. Just remove the beads and repeat the process.