
Evolution Canopy System Installation Guide
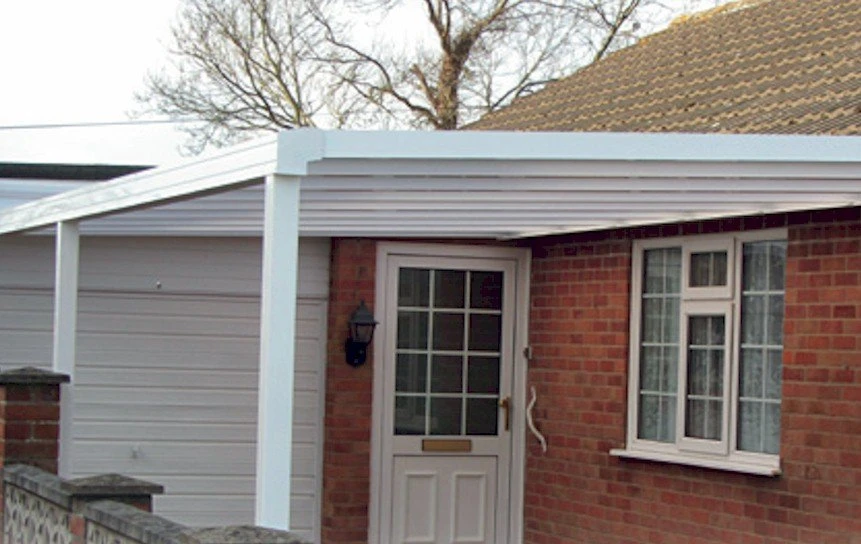
This installation guide provides an overview of how our Evolution Canopy System is installed. If you have any questions, please call us on 0117 971 9922.
Tools Required
- Power Drill/Driver
- HSS Drill Bits – 3mm/7mm/8mm
- Masonry Drill Bits – 6mm/8mm
- Silicone Gun
- Spirit Level
- Mallet & Hammer
- Step Ladders
Items Supplied
- Star Drive Bit
- Posi Drive Bit
- Silicone Sealant
- Fixings
- Gutter Grid
Canopy Components
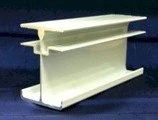 Glazing Bar
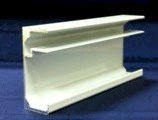 End Bar
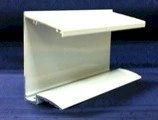 Wall Plate
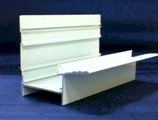 Eaves Beam / Gutter
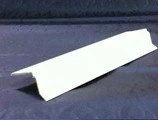 Sheet End Trim
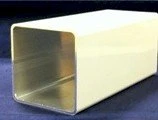 Canopy Post Leg
Before Installation
Please ensure the following conditions have been met:
- The host wall and base should be made of sound construction, suitable for fixing this system into position
- The base for canopy posts should be of solid concrete construction
- Fixings provided must be checked for suitability to your application before proceeding with the installation
We recommend two people install the canopy due to the size and weight of certain components.
Installation Steps
Step 1: Eaves Beam/Gutter Preparation
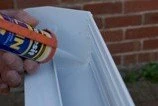
Apply a bead of silicone sealant to the edge of the eaves or beam gutter.
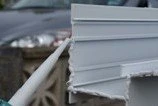
Fix the end cap to the end of the eaves/beam gutter using the self-tapping screws and cover cap provided. Wipe off excess silicone from the outside edge.
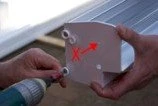
Note: Do not fit screw "X" as this is fitted later.
Once the end caps are fitted, apply another bead of silicone to the inside edge.
Determine and mark the position of the post legs on the underside of the eaves or beam gutter. Select the drainage post/s and drill a central 40mm hole.
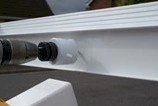
Alternative: A series of small holes can be drilled in a circular pattern to achieve the same result.
To ensure that leaves and debris do not block the water outlet, install a small section of the gutter grid as shown in the diagram. This can be fixed in position using a small bead of silicone if required.
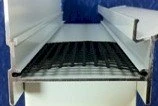
Once the pilot hole has been drilled, permanently fix the post (s) into position using two self-tapping screws per side. Ensure legs are square to eaves beam before screws are fitted.
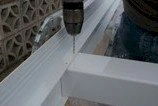
Step 2: Wall Plate Preparation
Determine the pitch required using the table provided below, then measure and mark the host wall at the correct height.
Note: All measurements shown are the height to the underside of the wall plate. The dimensions are for standard 2.25m posts. For 3m posts, add 750mm to the dimensions.
Using a 7mm HSS drill bit, pre-drill the wall plate 100mm from the edge. Space the remaining fixing points equally along the wall plate and drill. We recommend a minimum of one fixing per glazing bar along the wall plate.
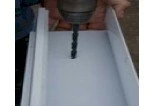
Apply a bead of silicone to the back of the wall plate. Position the wall plate against the wall and drill and fix the first hole into the wall using the 6mm masonry bit and the provided fixings.
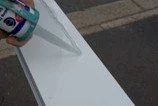
Important: Fixings supplied are to be fixed into the brickwork with no plug. Do not fix into the mortar joint.
Ensure the wall plate is level and fit the remaining fixings and cover caps. Apply a bead of silicone to the top edge of the wall plate to form a watertight seal.
Step 3: Erecting The Canopy
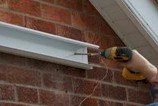
The two edge bar profiles are to be fixed onto the wall plate and eaves beam using the self-tapping screws provided. Use one screw at each end of the bar at this point to allow for movement when squaring up later in the procedure.
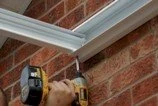
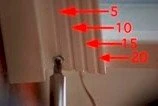
The drill guidelines on the underside of the wall plate and eaves beam indicate the degree of pitch, measured from the host wall, ranging from 5 to 20 degrees. (5-degree wall plate fixing shown opposite).
Fit the PVC sheet end closure centrally to both ends of the polycarbonate panels.
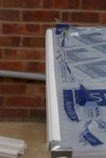
Note: The printed film on the panels denotes the top sun (outer) side. The perforated foil tape should be at the gutter end of the roof.
Engage the edge of the first polycarbonate panel into the glazing jaw on the edge bar and push the panel in firmly. Then select a glazing bar and engage the panel into the glazing jaw. Ensure the bar is then fully engaged with the wall plate.
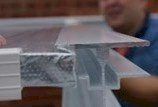
Note: Do not secure any of the glazing bars at this point.
Repeat the bar fitting procedure with all the remaining panels and glazing bars until one panel remains. Now remove the edge bar to allow access of the last panel and then refit. The structure now needs to be squared up. PVC end closures should be flush to the wall plate. Now secure all glazing bars using two screws at both ends of each bar.
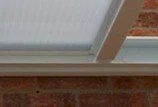
Step 4: Fixing Posts
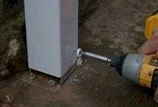
Once the structure is square, level the posts in both directions using a spirit level. Drill the concrete pad using an 8mm masonry bit and secure post brackets to the concrete base using the supplied stud anchors.
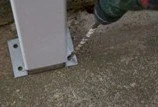
Hammer in fixings and tighten with a 13mm spanner. Check that fixings are secure for your base.
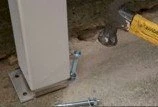
Level the gutter by adjusting the post over the foot bracket. Once the desired position is achieved, secure it using two screws and caps on either side of the post.
Step 5: Fitting Sheet Edge Trim
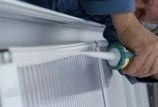
Apply a bead of silicone to the leading edge of the PVC sheet end closure at the gutter end of the canopy to ensure it is sealed onto the glazing material.
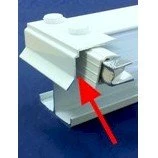
Position the sheet edge trim profile on top of the glazing bar ends, leaving a 10mm gap for water drainage at the end of the sheet.
Using the screws and caps supplied, use the sightline on the glazing bars to determine drill position. Use one screw per end bar and two per glazing bar.
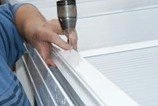
Apply a bead of silicone to the front edge of the trim over the glazing bar. Secure screw "X" into position (see step 1.1) and install the wall plate end caps.
This now completes the installation of the canopy.
Wall Plate Preparation Table
| Pitch (degrees) | Projection | 1500mm | 2000mm | 2500mm | 3000mm | 3500mm | 4000mm |
|---|---|---|---|---|---|---|---|
| 5 | 2417mm | 2460mm | 2504mm | 2547mm | 2591mm | 2634mm | |
| 10 | 2543mm | 2630mm | 2717mm | 2804mm | 2890mm | 2977mm | |
| 15 | 2665mm | 2795mm | 2924mm | 3054mm | 3183mm | 3312mm | |
| 20 | 2784mm | 2955mm | 3126mm | 3297mm | 3468mm | 3639mm |
Need Assistance?
If you have any questions about your Evolution Canopy System installation:
Our team is here to help ensure your installation is successful.
Disclaimer
The manufacturer accepts no responsibility for any injury or consequential losses caused by the use of unsuitable fixings or by the installation of the product in any way that differs from that described herein. Evolution canopies are designed to withstand a loading of 600 N/m², which is suitable for most domestic applications in the United Kingdom. If you are installing the canopy in an exposed location, please call your supplier to ask about increased loading specifications.